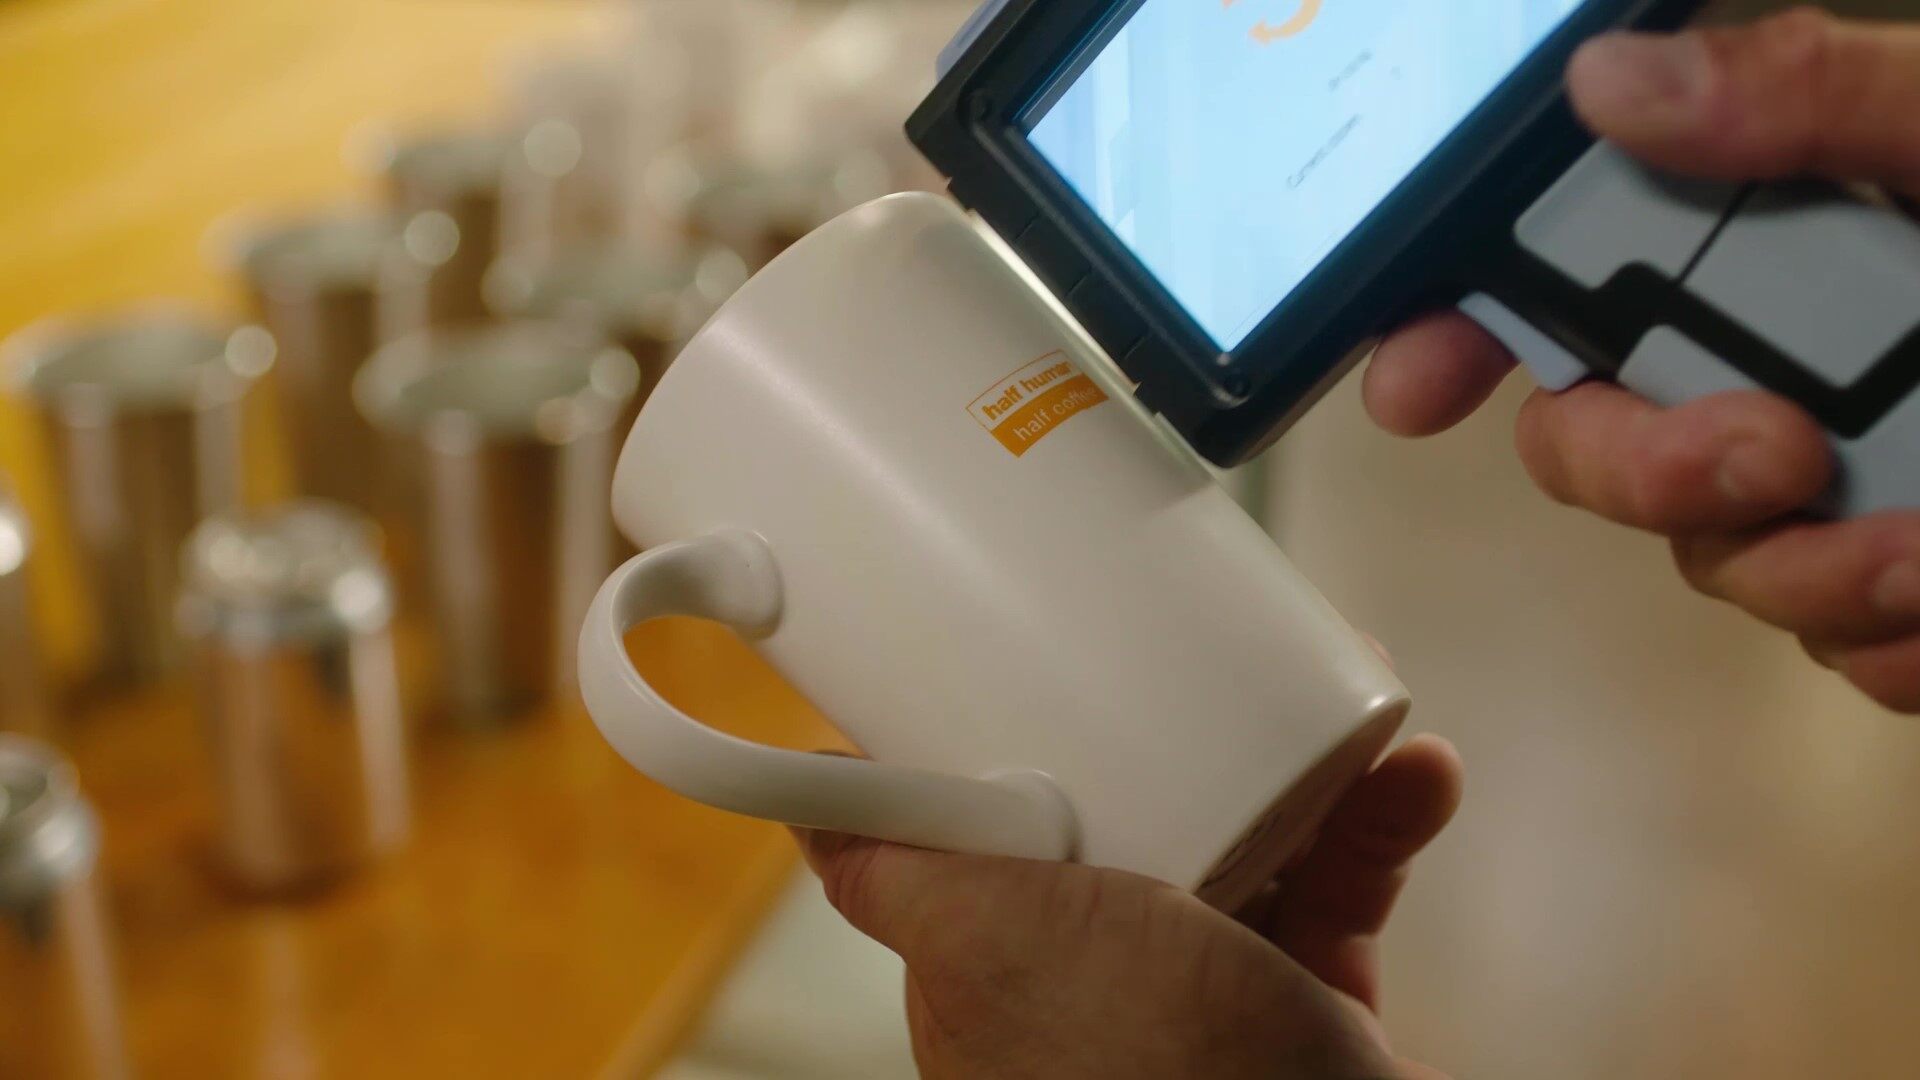
The Ultimate Guide to Printing Logos on Materials Using a Handheld Printer

Do you know that you don’t need an expensive printing company to print your logo even on different kinds of materials? With the advancement in portable printing technology, handheld printers have become a game-changer for businesses and DIY enthusiasts alike. Whether you aim to brand merchandise, customize gifts, or even personalize office supplies, a handheld printer offers a practical and affordable solution. This article delves into the nuances of using a handheld printer to apply your brand logo across various materials.
Understanding the Basics of Handheld Printers
Before diving into the printing process, it's crucial to understand what handheld printers are and their capabilities. Handheld printers are compact, portable devices that allow you to print on various surfaces, including fabric, metal, plastic, and paper. These printers come in different models, each tailored for specific materials and ink types. Choosing the right handheld printer for your project is the key to a successful print result as some printers are made for printing on porous surfaces and others may be more versatile.
How to Print Logos on Materials?
Step One - Designing and Preparing Your Logo
The first step in printing your logo is to have a digital design ready. Make sure the image is in a format that compatible with your printer's software, typically JPEG, PNG, or BMP format. Also, many handheld printers have limitations on the image resolution. Take Bentsai B2 printer gun for example, its maximum image resolution is 432*4800px. Anything bigger than this size won’t be recognized or read by the printer.
Step Two - Loading Your Logo and Test Runs
Once your logo is ready, store the image file to a USB drive, simply insert the drive into your handheld printer. These printers are designed to be intuitive, with user-friendly interfaces that allow you to select the file you wish to print directly from the USB.
After selecting the file, you may need to adjust the print size and orientation to fit your material. It's a good idea to perform a test print on a similar material to fine-tune these settings before moving on to your final product.
Step Three - Preparing Your Material for Printing
The material you choose to print on should be clean and dry. Thought Bentsai handheld label printer does not need any pre-coating for materials, some printers might require a primer or special coating for the ink to adhere properly. This preparation step is crucial for ensuring that your logo is printed clearly and lasts longer.
If your portable inkjet printer is not used in a while, you may need to clean the printhead as well in case the ink has dried out and clogged the printhead. This will surely promise you a good printout.
Step Four – Start Printing
Align your handheld printer on the material where you want your logo. Handheld printers often have positioning plate or laser pointers to aid in alignment. Begin the printing process by moving the printer steadily across the material. This step requires a steady hand and a bit of practice to perfect.
Final Step - Drying, Curing, and Post-Processing
After printing, allow the ink to dry completely. Depending on the ink and material, you may also need to cure the print with heat or UV light. Some materials might benefit from a protective coating to prolong the life of your print.
Printing your brand logo on various materials with a handheld inkjet printer is a convenient and cost-effective way to enhance your business’s branding or personalize items for DIY projects. With a handheld printer, you can achieve professional results in the comfort of your home or office. This guide has walked you through each step of the process, from initial design to final print. Embrace this technology to elevate your branding and unleash your creative potential.


